Propulsion, propeller, problem

There’s a knock!

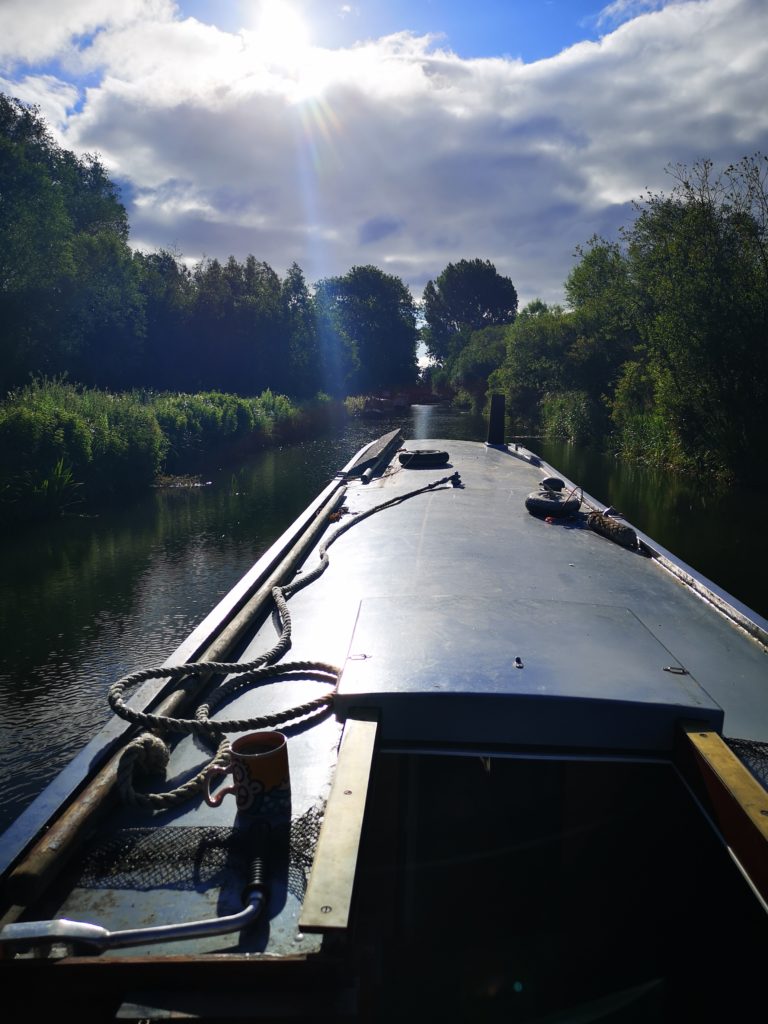
Over the past month or so, I have been out on Phoenix (The electric Narrowboat – do keep up) and on the last return voyage, I noticed the “normal” knock was getting louder.

This is a concern but probably never heard if an engine is installed on your boat but all new knocking noises are really apparent in an electric drive situation.

Mainly because there isn’t that ongoing, constant peace killing, thumping diesel or other engine involved. So the upshot is that if the tap starts dripping or, like now, a rotating knock is heard, then you can stop earlier and check things out.

It does though create a huge paranoia though as you begin to think that if *anything* is causing friction on the propeller shaft then the batteries and motor are having to work harder potentially and in doing so, reducing the distance you can travel on that charge.

Its a juggling game of movement and power

Due to the nature of the beast, Phoenix uses large amounts of battery power to move.

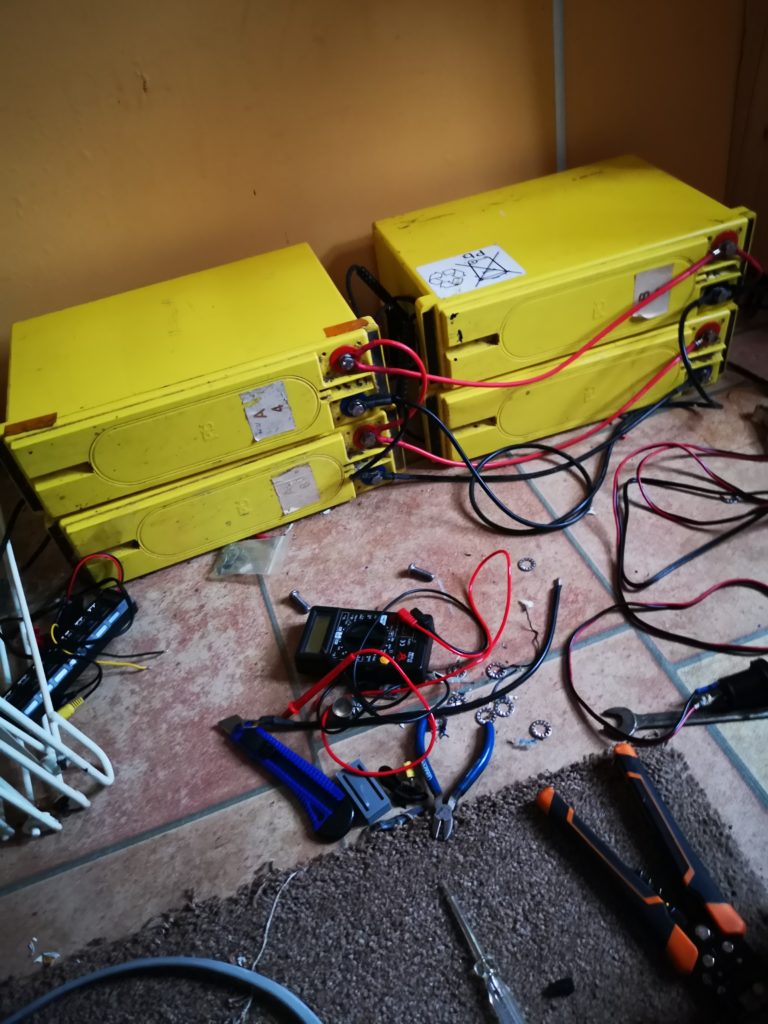
She currently has five 12v batteries that are linked together to create 60v for driving her. These batteries are not light as they are not your normal car batteries (Think industrial use like London Buses etc) and they are designed to take the harsh environment they find themselves in and the random but regular demands on them.

In order to move Phoenix, these batteries need to be charged up and this is something of a talking point for others and I as there are two types of electric boats. One uses a dual drive system that allows the captain to choose either a diesel engine or an electric motor to turn the propeller shaft (using complicated clutch mechanicals) or they are motor only with a diesel generator to charge batteries while not it use.

I, personally, like the second type as that is what Phoenix is. She drives on her main drive batteries and they’re charged via the generator when we are moored up (and Phoenix occupants can go for a walk).

What this means is that Phoenix will run completely silent (ok, there is water noise and the whirring of the motor and gear) until she needs to stop for charge.

If, we travel for 5 or 6 hours (depending on lock numbers etc) then she will need charging for about 8 hours with the current charging systems in place.

6 hours moving, 8 hours stopped?

It isn’t an exact science. The factors are huge. For arguments sake, you have a non-flowing (i.e canal not river) and you want to travel, then you can do that for 6 – 9 hours but, should there be a flow against you or if there are times when your propeller drives “through something” then your 9 hours drops as the motor and batteries work harder. It kind of adds to the excitement of narrowboating as I don’t always know or can guarantee that Phoenix will make it to a point on the map regardless of how many daylight hours are left. Which is a change from the normal engine boats.

So, the solution is to move as far as you want and leave some charge in the batteries. No one said that canal journeys need to be from one village to the next or the one after. Its about travelling along and enjoying the scenery and the environment itself.

Once, I decide where and when Phoenix and I will stop, I power Phoenix drive down and isolate all the batteries (they have handy twist knobs on the batteries to do this) and I hook up the chargers to the generator and start it up.

This is the only time that Phoenix is making any engine noise. Once the generator is on, it is possible to watch TV or listen to music on the front without having to listen to the generator. There is also the opportunity to go for a walk or just only charge for a an hour or so. Then chill out enjoying where you are in silence again.

Your Boat stinks, it is noisy and pollutes our planet!

This whole debate on if its better to travel silent and then make noise at the mooring is ongoing but as far as I can see it, a “normal” diesel powered craft is mostly in idle the entire time it is on. This is hugely inefficient as diesels burn much larger amounts of diesel in idle (4-9Mpg, yes 4 miles per gallon!) and yet they will do this for decades with maintenance.

The electric drive solution on Phoenix means that I can travel and listen to the birds, the crew can hear me and I can hear them. Coffee orders are never missed 🙂

Most importantly though, Phoenix uses a diesel generator that because of its job runs at a much much higher rev range than the average diesel powered narrowboat and as such it actually more fuel efficient.

To the Future and Beyond!

The future for Phoenix is new batteries and much more wiring works to get her to a fully turnkey solution.

The generator currently lives on deck but that will change soon and I’m excited for that to happen now.

Hopefully the knocking on the propeller is an easy and quick fix but I’ll document as much as I can.

What do you think the knock is in the video?

Do you own a narrowboat or have experience in this field?

Sign up to the newsletter for regular updates to your inbox and leave your thoughts in the comments box. ?

A trip on an electric Narrowboat ?

Recently there was a 92nd Birthday in the family. (Happy Birthday Nan!)

Previously on my maiden single handed trip to Hungerford, I had set up a camera on the front of the boat and had intended on just seeing what sort of things it would see (as I’d be at the back driving and doing the locks etc).

Then it turned out that my wife’s Nan would probably enjoy seeing the footage as part of her 92nd Birthday party coming up.

That’s far too long babe!

So my wife exclaimed when I said I had a couple of hours footage across two days and a few locks.

So the editor came out and I set about the trimming session.

You can only use what you have

More importantly, you can only use that which you pay for and in my world, I’m bottom of the spend list so I run Linux on an old notebook type of laptop.

My android phone comes into it’s own with video editing too as I can add text and other cool modifications to the videos too.

The finished video

The editing process isn’t very complicated but a 6 minute video takes upwards of 3 hours to cut down from 2 hours.

The camera I used was recording and saving every 5 mins of video, so there were lots of separate videos.

The software used on Linux was OpenShot and this lets you import your videos and place them on the timeline with effects and other tweaks.

Much of the travelling shots are sped up by 4 times and this removes the sound. However there are plans to make more videos but that’ll be later this year probably.

Once the video is cut down and I’m happy with the length and content. I can move it onto the phone. This is a laborious task as the notebook needs to convert / export it’s finished video and that takes around 3 hours to complete.

Once the OpenShot video is on the phone (USB transfer is still slow but works), I can then open into a video making software and add text to the video and any other details I need.

Stick it online

Once I am as happy as I’ll be or have just lost the will to continue, I upload the video to YouTube.

Once in YouTube, the video is scanned for copyright infringement and is available to view.

I scroll through the video and pick a presentable cover / title screen as this is what viewers will see as the “thumbnail” for the video and start telling people it’s online via Facebook and other social media.

Its online!

Once I have done all the above, I go about writing a short blog entry about the subject too (just like this one).

Having videos online is a mixed bag of “how many people have seen it today?” and “maybe it could do with music”, through to “They said they watched it and liked it!” Type of wonderment but overall, it’s nice seeing that little “viewed” figure climb over time and knowing someone else may have enjoyed it too.

Remember to sign up for the newsletter ?

Fitted, tested – Victron solar solution (DIY)

Reminder of the 4 panels (already installed)

It all came together

The regular readers here will already know that I (we, that’s my dad in the photo) have been installing a solar solution to recharge and maintain my planned huge 12v battery.

There was a plan and then another plan, then finally it was a case of “push came to shove” as the need to generate some power while out on the cut and not rely solely on the generator became a necessity.

Today the plan was to connect up the solar panels to each other (in parallel), install the cut off switch, the charge controller, connect the 4 12v batteries together in parallel and some minor electrical cable routing with switch installation. Phew. Might be asking a bit here…

Can it be that simple?

I have had about a week to work on the theory side of this project. I spent some time emailing the great contact I was lucky enough to be put in touch with via a family marine mechanical engineer (check out D H Crouch on YouTube).

With the contact’s patience and understanding, I felt ready to install this new equipment.

You’ll recall that I generally know about woodworking and other IT based tech but the whole concept of batteries and environmental generated electricity is so far out of my comfort zone that I sometimes wonder what’s wrong with me.

Ahead – nonetheless

I started off the day with a “simple” goal. I needed to extend and hide the cable that powers Phoenix security camera and install a manual switch to power it off when I was there. I got bored of the boat emailing me pictures of myself so this became a priority as it draws its power from the “house battery” and is wired in with the stereo feed. So an isolating switch was called for.

What I thought was going to be a simple case of making a small hole in the face panel and dropping a cable down to where I wanted the switch to be, well, it became a 2 hour argument with friction and some tiny amount of drilling and soldering.

The end result was met and I celebrated with a well earned coffee.

He comes to the rescue and brings the bits too

Once my dad arrived with the interconnect cables he had made up for the solar panels and the battery interlinks, we set about getting on with it.

Well, Dad did, I had to attend a work meeting but it was ok as he took some time to work out the “plan of action”.

Once I was available, we hooked up the solar to the new cables and linked the batteries as planned.

The final tests

Once the “battery” was linked and solar linked, we set about test connections to see what the system would do when hooked it all together.

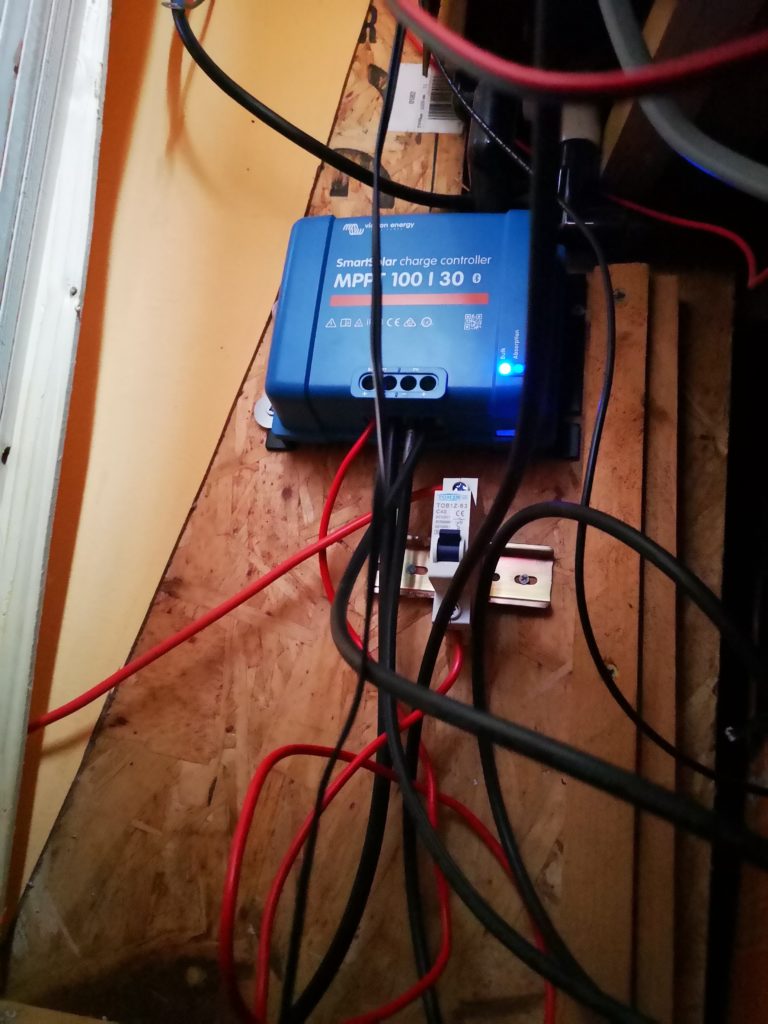
The battery was hooked up first (as per the manual) to the trip switch (reusable fuse?)

The “battery”. 4 X 12v in parallel.
The charge controller and it’s fuse

Looks like a red spider and black spider had a fight?

Ok, so the wiring does leave a lot to be desired but equally, the area isn’t seen but needs cable length as the cupboard its behind moves out to allow for access under the front well.

some of the wires will be tied up and out of the way and others used for other equipment but generally it is getting there.

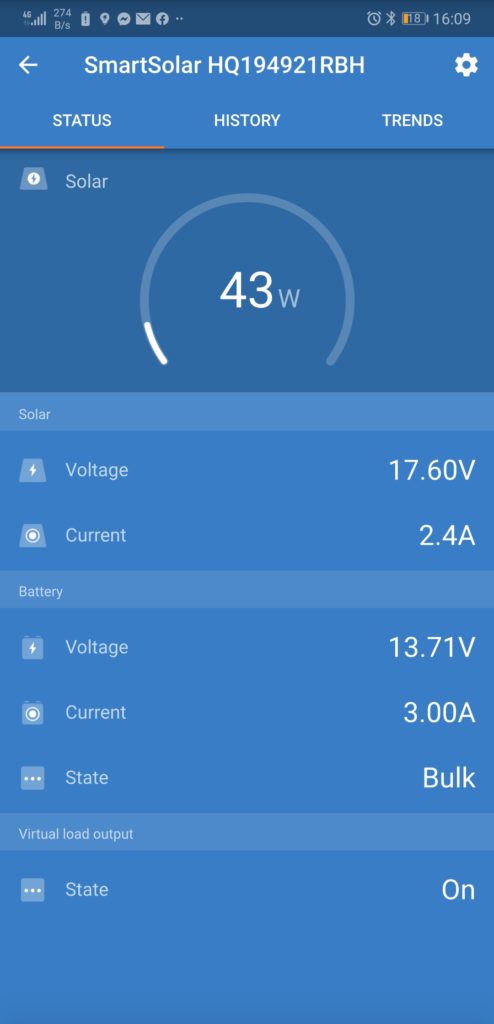
an example of the Victron controller Bluetooth data

Dont forget to sign up for the newsletter ?

Solar installed, yet to be connected up.

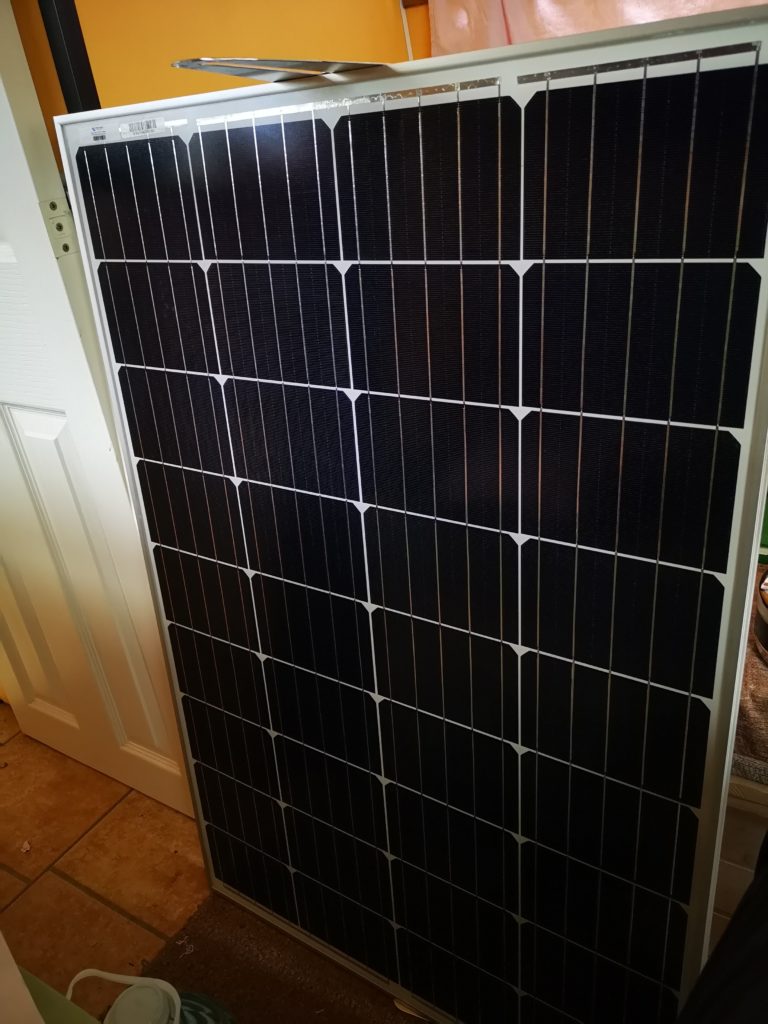
Phoenix now has 4 shiny new solar panels upon her roof.

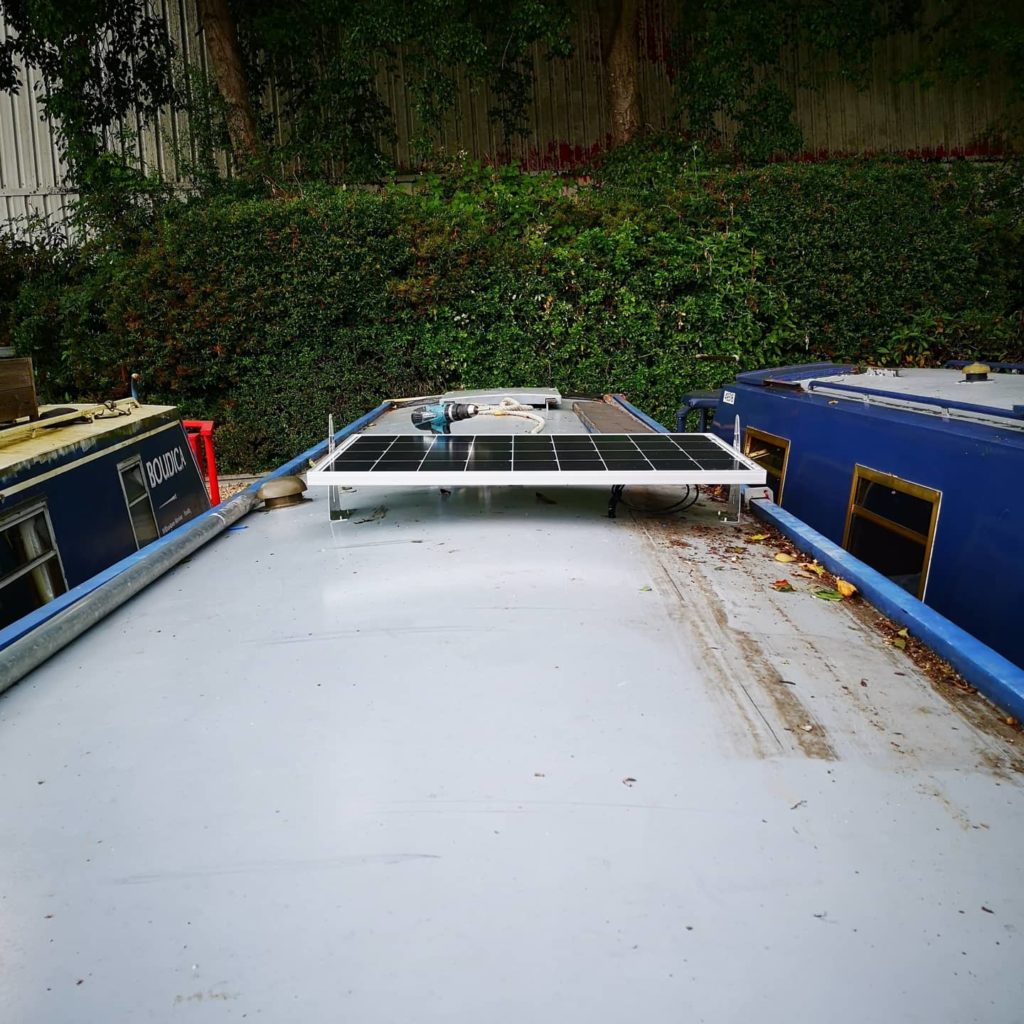
just one of the new solar panels. This one is having its bracket fitted.

The plan continues

The day started slow but once the nicely fashioned aluminium brackets had been attached to each panel, I started the layout of them.

Initially I had planned to put three panels across the roof and the forth along the roof.

All panels needed to go towards the front (bow) end as I use the centre rope lots when travelling alone. Jumping on and off with just a back (stern) rope is a pain as you’ve only got the one end at hand. Once the back is in, the front wants to go out. The middle rope is ideal as it just pulls it all over at once.

The single centre rope is a boon when working the locks alone too as I can walk the open gate whilst slowing the boat and by the time I’ve entered the lock, I’m ready to push the gate shut (dual gated locks).

Anyways, so the new panels needed the brackets installed on the panel and then holes marked with them for the roof to be drilled and tapped to take some bolts.

The bolts are actually hex head m5 bolts and they have been glued in with some waterproof gorilla glue (it expands and should be fine).

The panels are yet to be wired into the boat electric system but progress has been made nonetheless.

first panel on and attached… 3 to go…

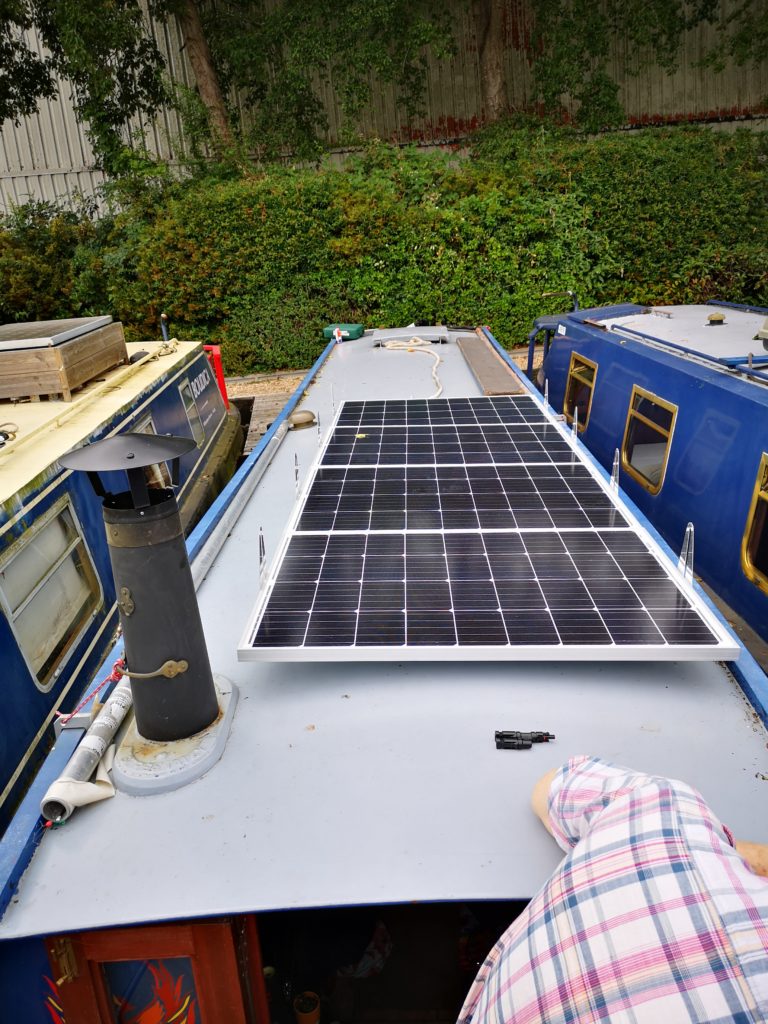
The installed panels

As you can see from the last photo, there was going to be enough room to have all 4 panels side by side.

They needed to go on the one side as I wanted to be able to get from back to front of needed and visa versa.

I have spent some time now working locks alone and this decision was made with first hand experience.

The work being done, so far, has meant that over the next few days, Phoenix should be generating her own power from the environment. How green are we actually going with this boat? ?

panels installed! You can see a ‘Y’ connector on the roof (used for linking 2 cables to 1).

In the image above, you can see my dad and he is looking at the entry point for the solar cabling into the front of the boat.

What’s next?

Next is connecting up the 4 12v batteries into 1 big 12v battery.

Then it’s the hookup work. That will involve connecting the large battery first to the charge controller (via a fuse) and then the solar into the controller too.

Then finally, I will be able to see what all the fuss is about solar (in the UK no less).

Remember to sign up for newsletters ??

From shore to land, back again and repeat.

The solar arrived for Phoenix (4 115w victron panels and various “make it work” stuff).

up front (where tyre and plank are) will be solar location.

The Plan!

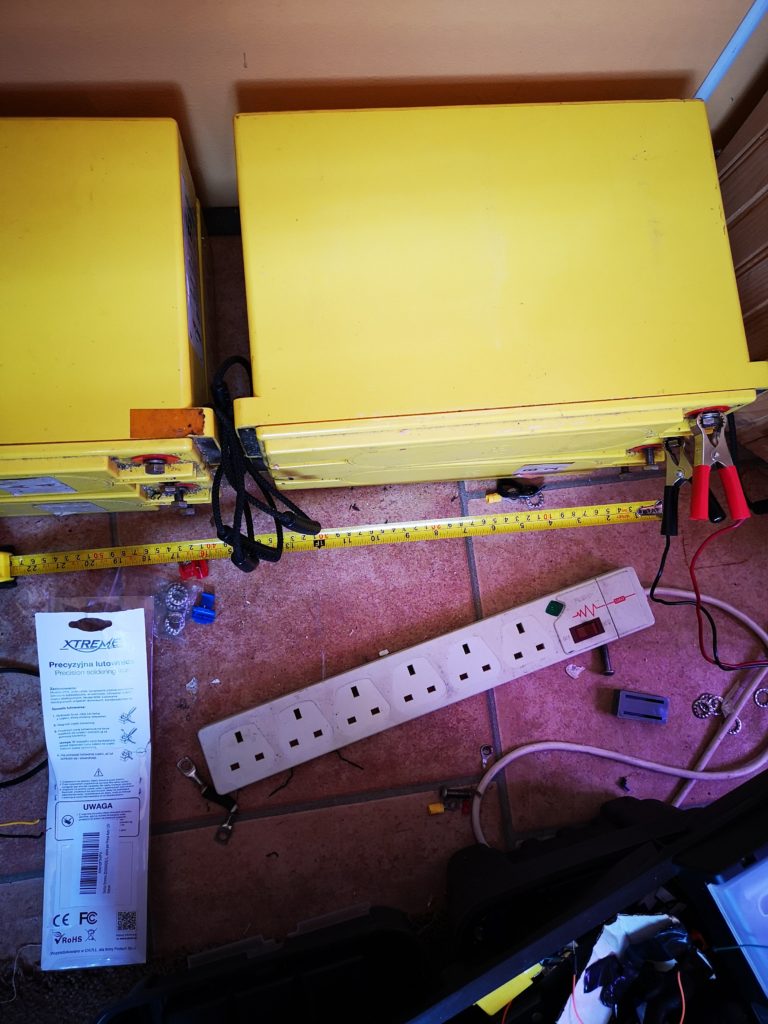
The plan is simple. After some long discussions with various people, it seems that the super solar will most likely be used to charge the huge 12v service battery (4 x 12v 92ah) and will hopefully mean that there won’t be such a concern for charging those then.

With a massive 328Ah to hand, I will be able to recharge my laptop and other bits and pieces via an inverter or direct 12v.

I’m yet to work out the maths but I think the amount of amp hours will be plenty to watch TV for hours or check the internet for weather and local information etc.

the 4 12v batteries that will be linked.

To recap

There will be 4 X solar panels connected in parallel (pos to pos, neg to neg) and connected to a charge controller.

This controller is first connected to the large 12v battery via an inline breaker fuse.

Phoenix will enjoy free entertainment (stereo, tv), an internet connection with raspberry pi security camera.

Future plans

The future is looking lithium battery for the drive. This will be installed in unison with the existing batteries for drive.

This will allow much further range but also hopefully a way to recharge quicker.

There is a plan bubbling away to have the raspberry pi to monitor and turn on a light (low power led) as nights draw in.

This will give Phoenix the appearance that someone is home and recharge during the daylight hours.

It may even be an Arduino setup yet but more thought is required on that yet ?

Subscribe to the newsletter for updates to your inbox.